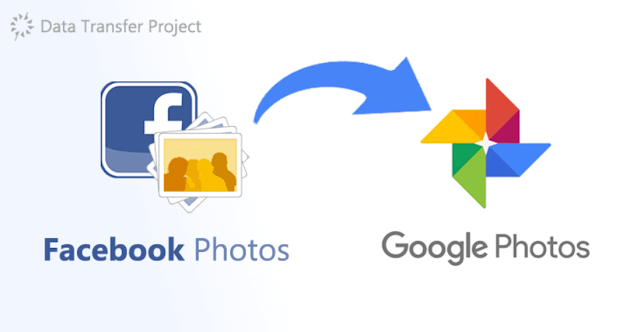
How to Transfer Photos from Facebook to Google Photos. Are you looking to migrate your cherished photos from Facebook to Google Photos? In this comprehensive guide, we will walk you through the step-by-step process of transferring your photos seamlessly. By following these instructions, you can ensure that your precious memories are safely preserved on Google Photos. Let’s get started!
Transfer photos from Facebook to Google Photos, follow the steps below:
- Open Facebook on your PC or computer and login using the credentials
- Tap on the profile icon in the upper right corner and open Settings
Under Settings, click Your Facebook Information in the left sidebar
Click the View button in front of the Transfer a copy of your information option - Then, click the Google Photos option
- On the next page, click the Choose option regarding what to transfer and check if your selection is correct
Here, you can choose to transfer all Facebook photos and videos or from a date range, even specific albums. - After that, click on the Connect button and sign in using your Google Account login credentials.
- Then, sign in using Google credentials to link Google Docs to Facebook. Once linked, a Start Transfer link will appear on Facebook.
- After everything is set, click the Start Transfer button. Enter your Facebook password to continue the process. Make sure the transfer process is complete.

Organizing and Managing Photos on Google Photos
DOWNLOAD APP HERE
After successfully transferring your photos to Google Photos, you may want to organize and manage them effectively. Here are a few tips to help you make the most of Google Photos’ features:
1. Creating Albums
Google Photos allows you to create albums to categorize and group your photos. Follow these steps to create an album:
- Open Google Photos and click on the “Albums” tab on the left sidebar.
- Click on the “+” button to create a new album.
- Provide a title and description for the album.
- Select the photos you want to add to the album and click on “Done.”
2. Adding Descriptions and Tags
To enhance the searchability of your photos, consider adding descriptions and tags. This will make it easier to find specific photos in the future. Here’s how you can do it:
- Open a photo in Google Photos and click on the “Info” icon (i) at the top right corner.
- Enter a description or add relevant tags in the provided fields.
- Click on “Save” to apply the changes.
3. Using the Search Feature
Google Photos offers powerful search capabilities that allow you to find photos based on people, objects, or locations. Take advantage of this feature to locate specific photos quickly. Simply type keywords in the search bar at the top of the screen and let Google Photos do the rest.
Conclusion
By following the methods outlined in this guide, you can effortlessly transfer your photos from Facebook to Google Photos. Remember to download the photos from Facebook, upload them to Google Photos, and utilize the various features to organize and manage your photo collection. Enjoy the seamless transition and continue reliving your precious memories on the Google Photos platform.